
Ok... I'm nuts about this wreath that Jes made! It's so me... Wonder if I can bribe her out of it? : ) I just love all of the crafts she makes--and always look forward to what she sends me! Thank you so much, Jes!! ~Page
Fall is by far my favorite time of the year! Pumpkin pie, the smell of cinnamon, beautiful leaves, hoodies, dead bugs...YAY! My husband and I just moved into a new house, so I have been getting into the decorating mood... I rarely purchase decorations, because I would rather make them and have something unique that no one else has! I decided to make a October wreath to hang on our door yesterday, and I thought would share the process with you!

I started out by making some Burnt Flowers. You can learn how to make these by reading an earlier tutorial Lauren posted HERE.

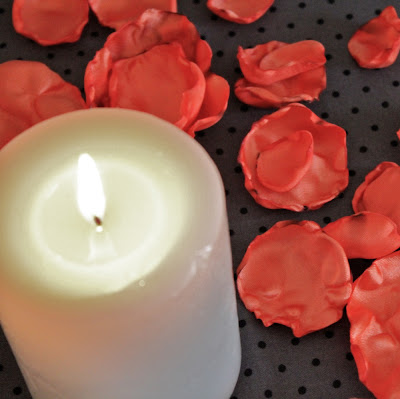
I even made some flowers to put at the base of my candle!

To make my wreath I started out with a vine wreath that I found at the dollar store for $1!
Any old wreath can be repurposed for this project. Just tear off the dusty embellishments it already has on it and your ready to go!

My wreath was a little skinny for my taste, so I cut up strips of an old blanket and wrapped it around the wreath hot glueing it into place.

Next, I tore 2 inch strips of fabric. I really like the look of the frayed edges tearing fabric gives me. Most cotton fabric should tear easily.

Decide which side of your wreath is going to be the front and which is going to be the back. You should always start and end strips of fabric on the back side.
I hot glued on the first strip of fabric and starting wrapping it tightly around the wreath. Make sure that you maintain the width of your spacing as you wrap.


As you come to the end of a strip of fabric, hot glue on the back and glue a new strip where the last on ended. Continue wrapping until the entire wreath is covered.

Now you can embellish however you like! I hot glued my burnt flowers onto the wreath and then glued some beautiful, black ostrich feathers underneath the flowers!
I encourage you to make your own decorations, whatever the season is! Incorporate the things you like to make meaningful and unique decor!


Send in your creations for a chance to get it posted on our blog for others to see!! Can't wait to see them!!
Enjoy!
*Jes*


