Welcome

This blog is about two friends, miles apart, striving to pattern our lives after the Proverbs 31 woman. Here you will find our daily journeys, whether serious, funny, practical, or inventive. Thanks for stopping by and we hope you'll stop by often!

~Lauren & Page

Showing posts with label flowers. Show all posts

Saturday, October 2, 2010

Fabric Flower #2!


And the obsession continues! : )

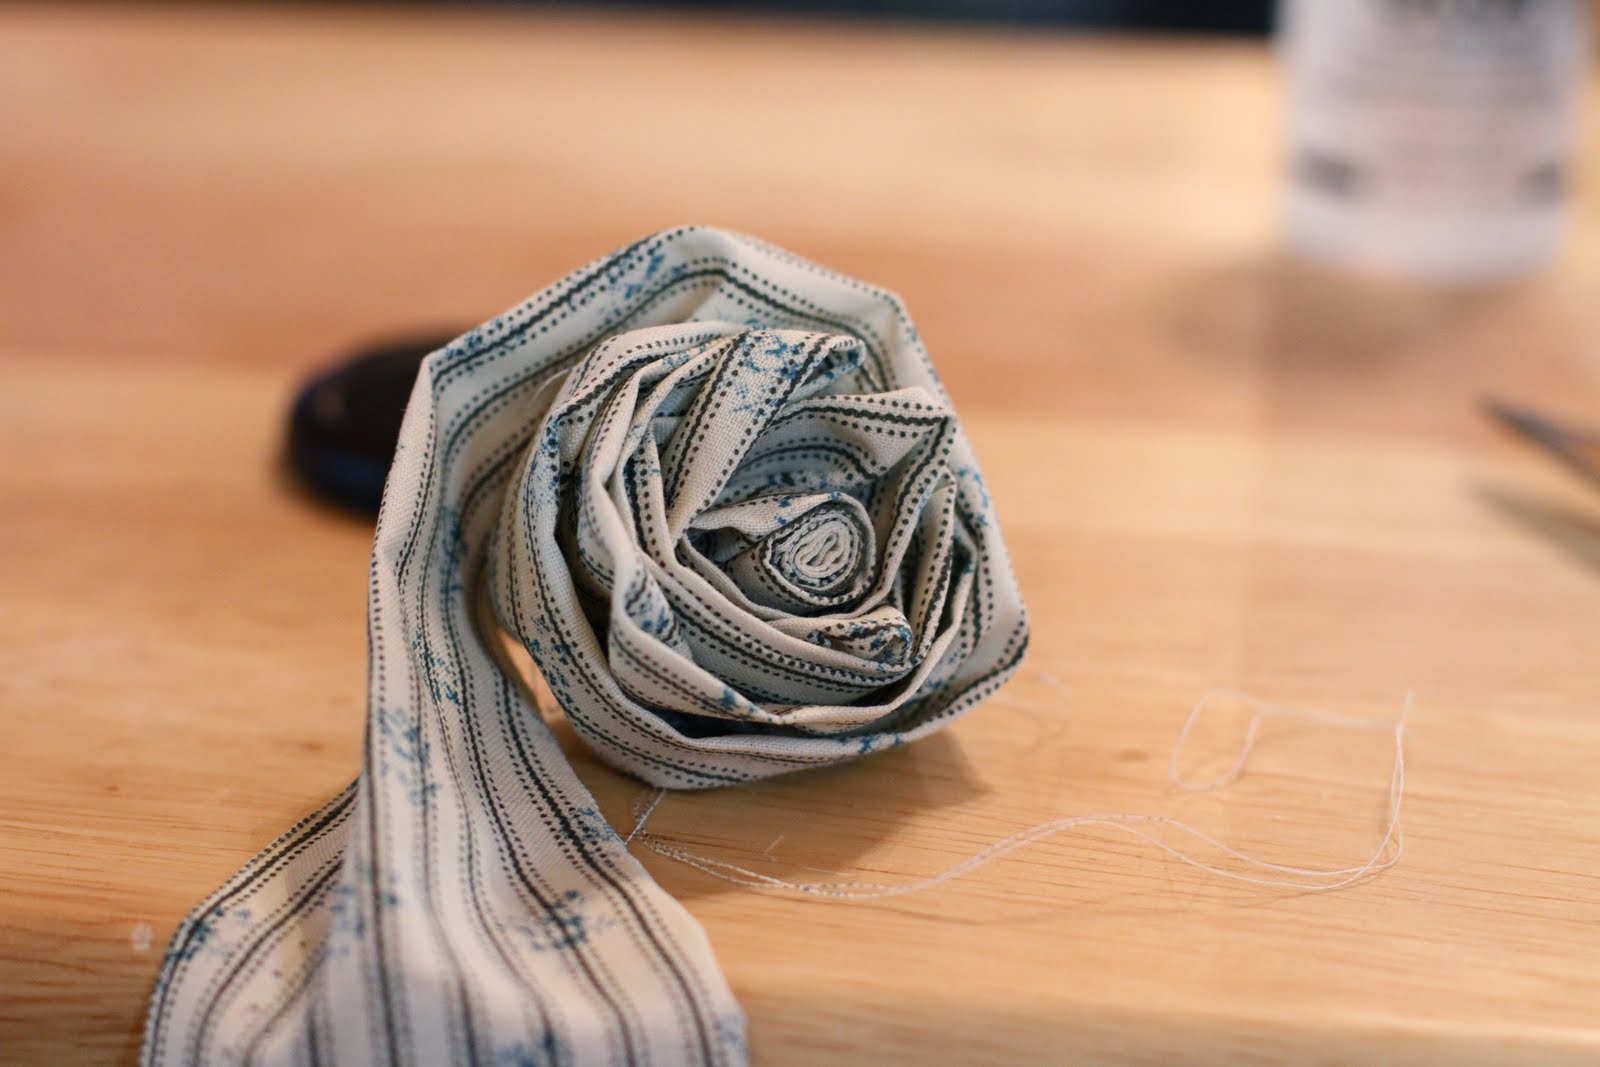
Here is our second fabric flower! I'm not exactly sure what this one is called--other than WAY CUTE!!! He he!! Thanks, Jes!!

What You'll need :
Fabric
Needle
Strong, Heavy Thread
Scissors
Hot Glue Gun
A CD or another round object to trace your circles


This fabric flower is a great way to use up your scrap fabric. I only used one kind of fabric for my flower, but you can use as many patterns and colors as you want.

First, using a cd or other round object trace 8 circles onto your fabric and cut out.


Next, cut each circle in half. An easy way to find the center line of your circle is to fold the circle in half, iron it flat, then cut along the crease you just made.


My flower only has 7 petals, so I only used 7 half circles. You can have as many or as few petals as you want. After all of your circles are cut in half, fold each piece in half again right sides together. (It should look like a triangle with a rounded bottom.) Take your needle and thread and run a straight stitch along the straight edge of your fabric making sure to knot the beginning and end.


Turn each piece right side out and use something pointy to poke out the corner.


Using strong, heavy thread, sew a straight stitch along the curved end of a flattened petal.


When coming to the end of a petal, do not knot. Instead, continue to sew on the next petal.


Do this until you have strung as many petals as you want on your flower.


Grab each end of the thread and pull taught while tying a knot. Trim off what's left of your thread.


Cut out a circle of felt or heavy fabric and hot glue it to the back of your flower. This gives the flower more stability.


Hot glue a cute button or two in the center of the flower and your done!


Be on the watch for more flowers soon! Yeah!!

Friday, October 1, 2010

Weekend of Flowers! "Rosettes"

Ok--so, I looooOOOOOOooooove fabric flowers. This is one trend that I am totally smitten with. They are so versatile. They can make a statement, add flair, and just say something about you. (Yes--all of that from one little accessory!)

I don't know if many of you are as crazy about these as I am--but if you are, I'm sure a lot of you have priced them, and then rethought letting yourself become addicted to these little staples.

So, here AP31 is to save the day! Let your addiction fly--because these are SO EASY and way cheap to make.

This weekend, we are going to show you a few different types of fabric flowers, and how to make them.

First up: "Rosettes"

You will need:


*a strip of fabric
*needle and complimentary thread
*tacky glue


Choose a fabric that is fun and represents you! I had this one on hand--found at Walmart on clearance for next to nothing. Me likey! : )


One thing I want to stress is that flower making of any kind is not an exact science--but that is part of the beauty of it. I ripped a strip of fabric that was around 3" or so thick, and quite long. Making the strip too long leaves me the ability to keep going as long as I want--and to fluff all that I want to fluff. : )

Fold your strip in half, sew a little stitch...


and start rolling!


I begin with a roll--all of this to my taste--and add stitches here and there as I go to keep everything where I want it!


The further I go--the more I start playing around with the fabric. I move it up and down--puff it up here and there--loose here, tight there... All whatever is pleasing to the eye. Just placing enough stitches to keep everything where I want it.


I love how creative you can be. Just keep going! : )


and going...


until you are happy and love it!


And then you're done!

It may need a little "poofing" and shaping in the end. Remember, make it just how you want to!


Now, most stop here--but I like to go one step further. I hate the way these look on the back, when you can see all the stitching.


Not pretty.


So if you want--cut out a little circle (which does not have to be perfect)...


add a little tacky glue...


and attach to the back.

Hmmm... Much better. : )


Then you are done with your flower!

You can do what you want with it: hair bow, hair band, pinned to your shirt, pinned to your purse... The possibilities are endless...


Again, I am just crazy about these things! I hope that my tutorial was enough to show you how to start your own rosette fun!! : )

We are looking forward to the rest of the tutorials coming this weekend--ALL THINGS FABRIC FLOWERS!!

Enjoy and craft away!

~Page